The red numbers relate to the numbers in the following screenshots.
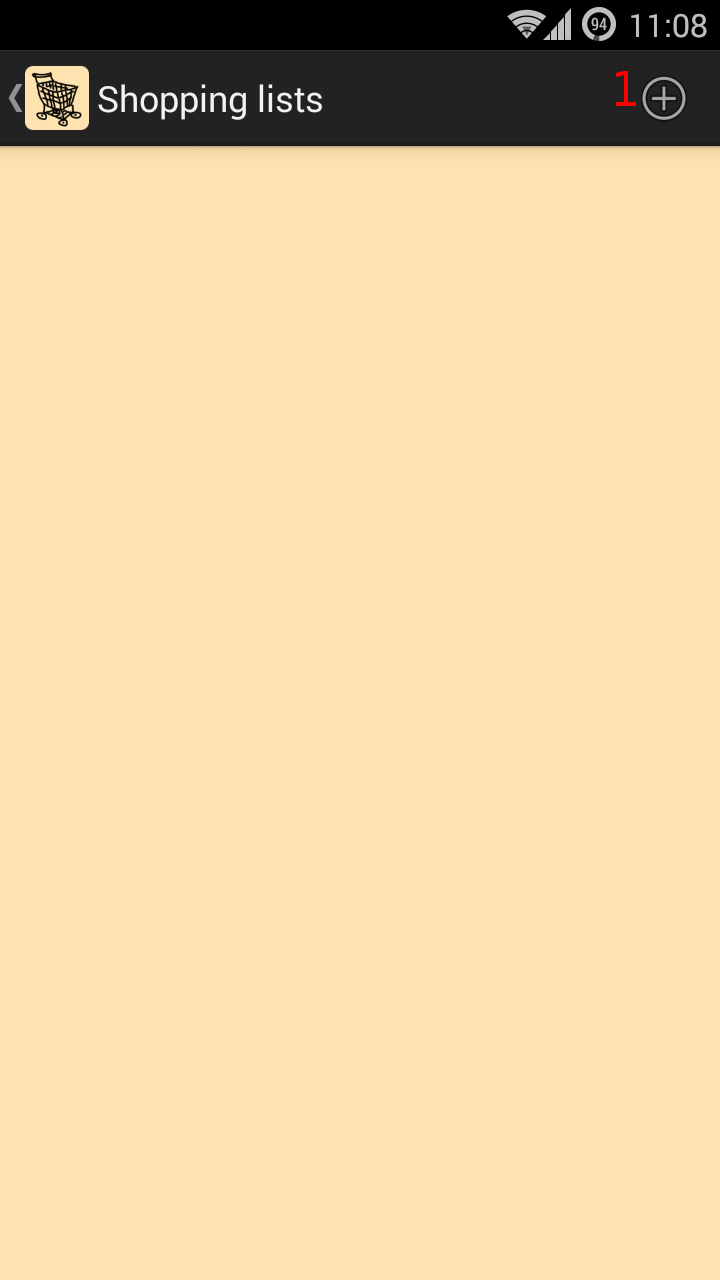

1
Add shopping list
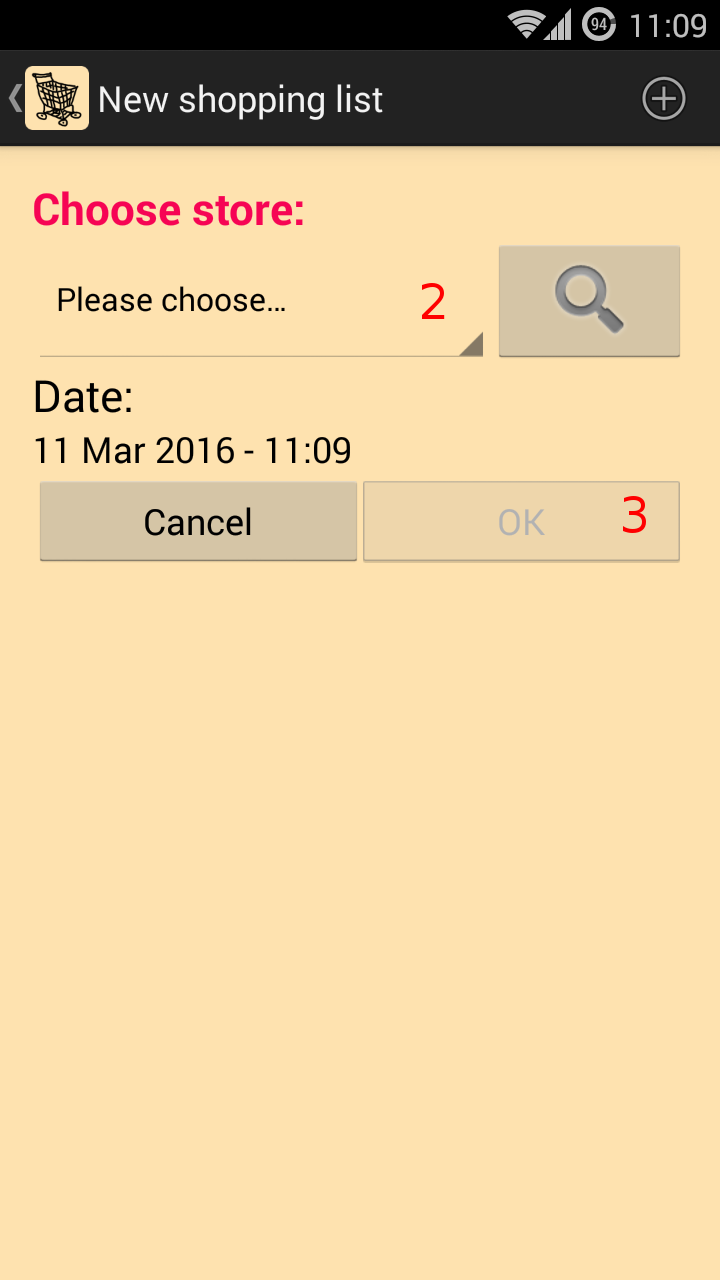
2
Choose store
In the initial version there is only one store called 'store'. If you want to rename it and also put new stores in, it can be done in "Data management".
Choose a store and press OK (3).
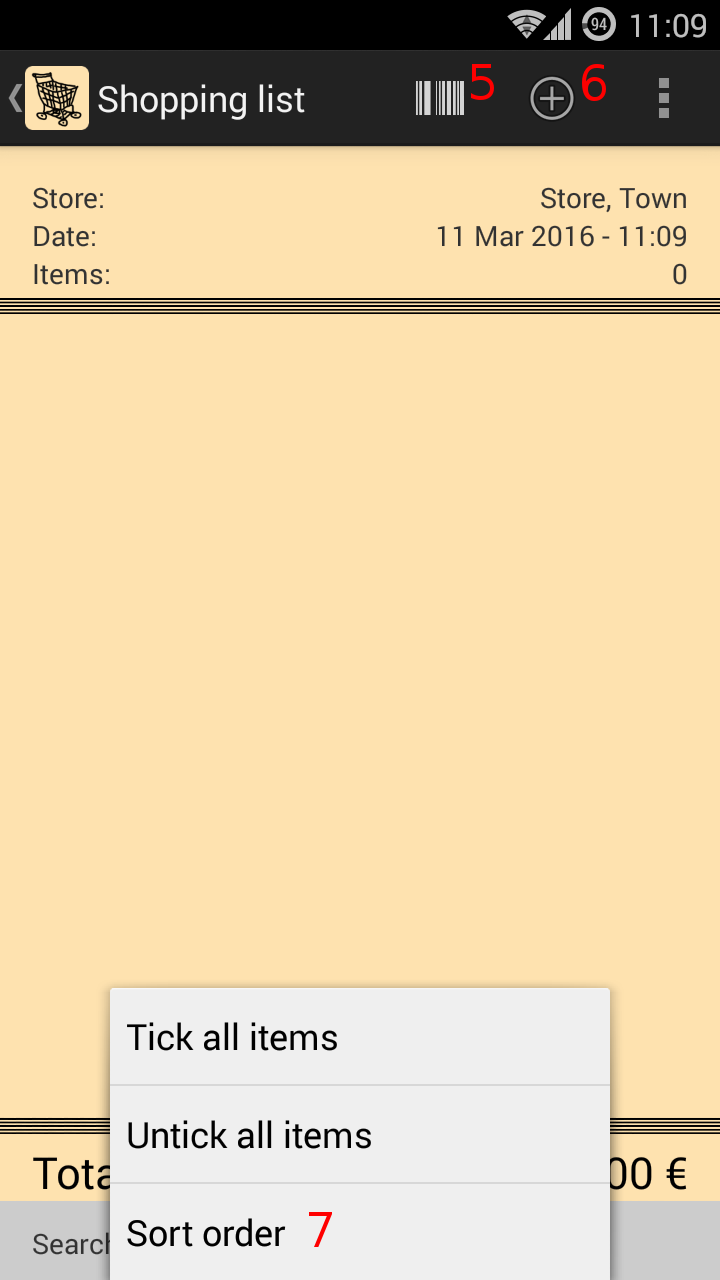
This is your new shopping list.
Press on the shopping list and the context menu opens (4).

Edit shopping list: Opens the new "Shopping list".
5
"Scan barcode" opens barcode scanner.
If the product is new "Input product" opens.
Type in the mandatory fields "Product name" and "Content".
Also choose "Price per item" or "Price per weight". These cannot be changed after being used in a shopping list.
"Product category" is also a mandatory field but you can go to "Settings" beforehand and choose a product category of your list that will automatically be put in.
Otherwise you will also have to choose one.
"Brand/producer" and "Price" are optional.
If all mandatory fields are put in, you can press OK.
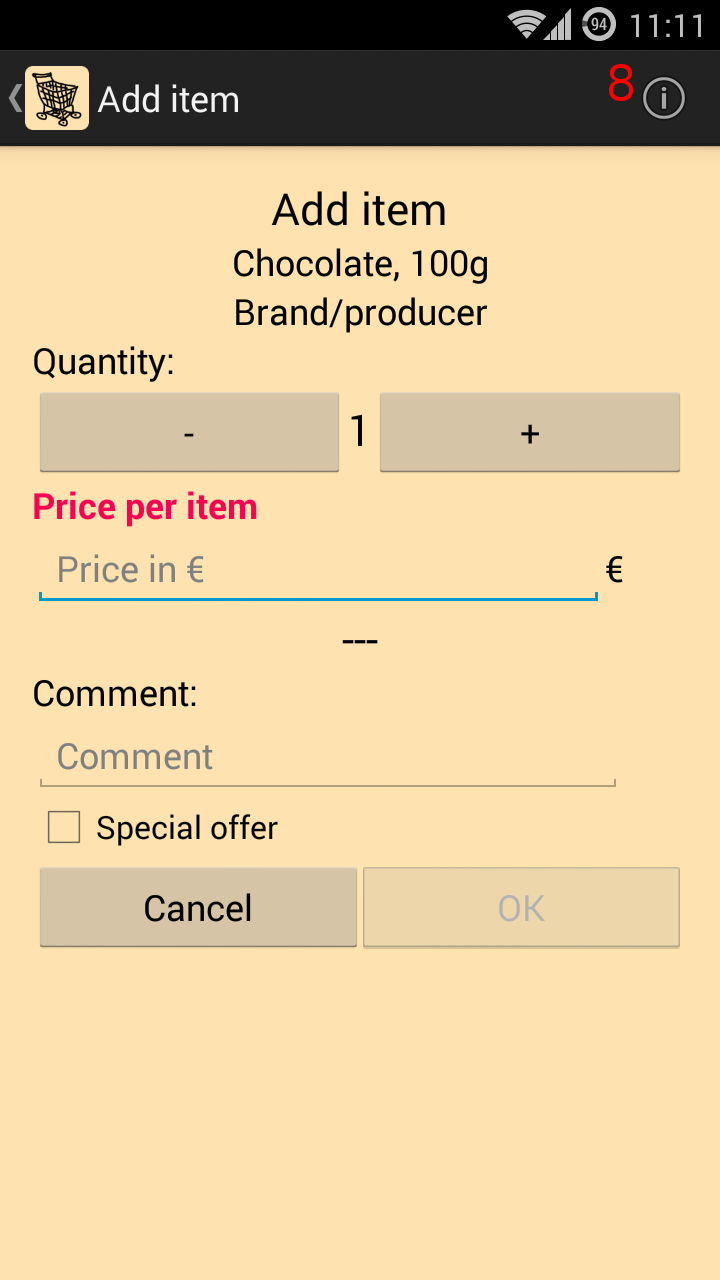
"Add item" opens.
Product with price per item: Now enter the price and adjust the quantity.
Product with price per weight: Now enter the weight and the price per weight.
In each case you can choose to enter a comment or mark the item as special offer.
If the product is already in your database, the most recent price will come up.
If you are preparing your shopping list at home, you might not know the exact price. Just estimate a price, it can be changed later.
Press OK. Now the product is in your shopping list.
If the product is already in your database and you scan the barcode, "Add item" opens.
6
Add product:
A list of all products in your database opens. Choose one. "Add item" opens.
7
Sorting:
The standard sorting shows the last added items on top. If an item is ticked, it is moved to the end of the list.
The shopping list can be sorted ascending or descending, alphabetically or by price of the items (unit price or total price of an item).
8
Price history:
View the previously saved prices from "history" for this product, sorted by date.

9
Scan barcode
10
Input product: Opens "Input product". Enter a new product. You can check with "Search product" if it already is listed.
11
Sorting:
The products can be sorted ascending or descending, alphabetically or by creation date.
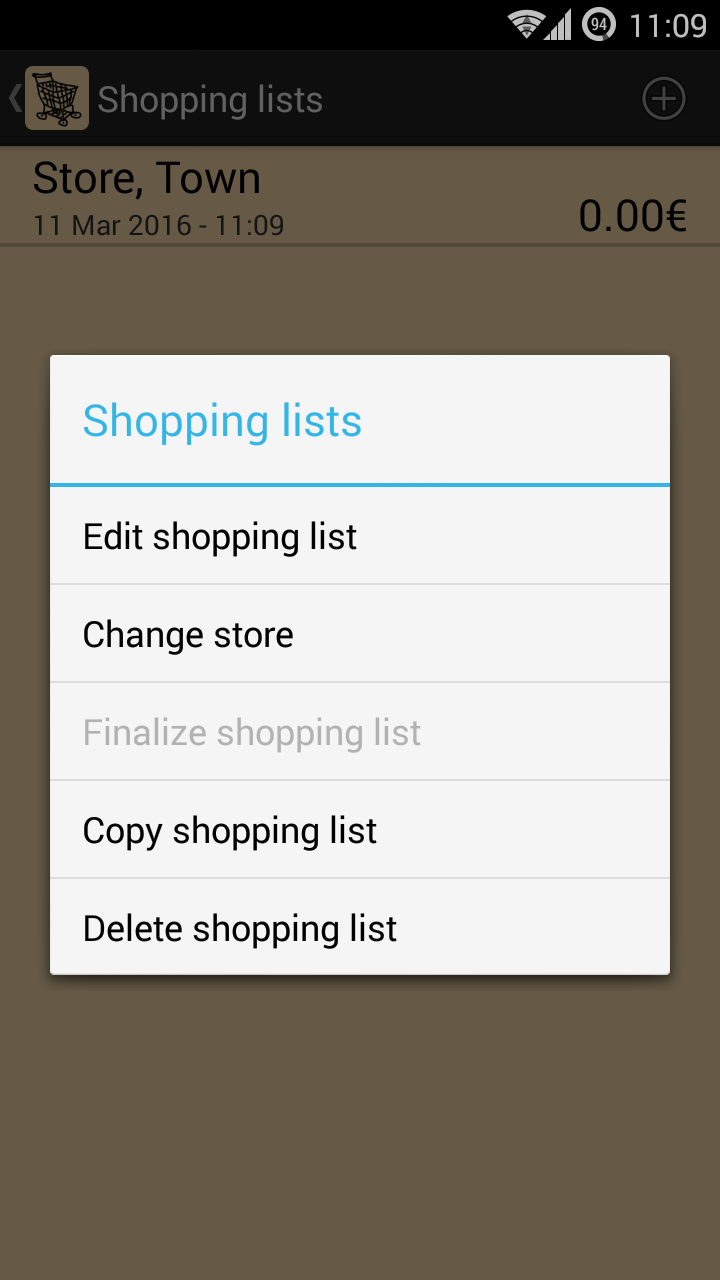
Change store: Change the store of your current shopping list.
Finalize shopping list: Move the shopping list to "History".
The data is now available for the "Price history" and the "Statistics".
Copy shopping list: Here you can copy a complete shopping list if you have recurring purchases.
Delete shopping list: The complete shopping list including all the data will be deleted.
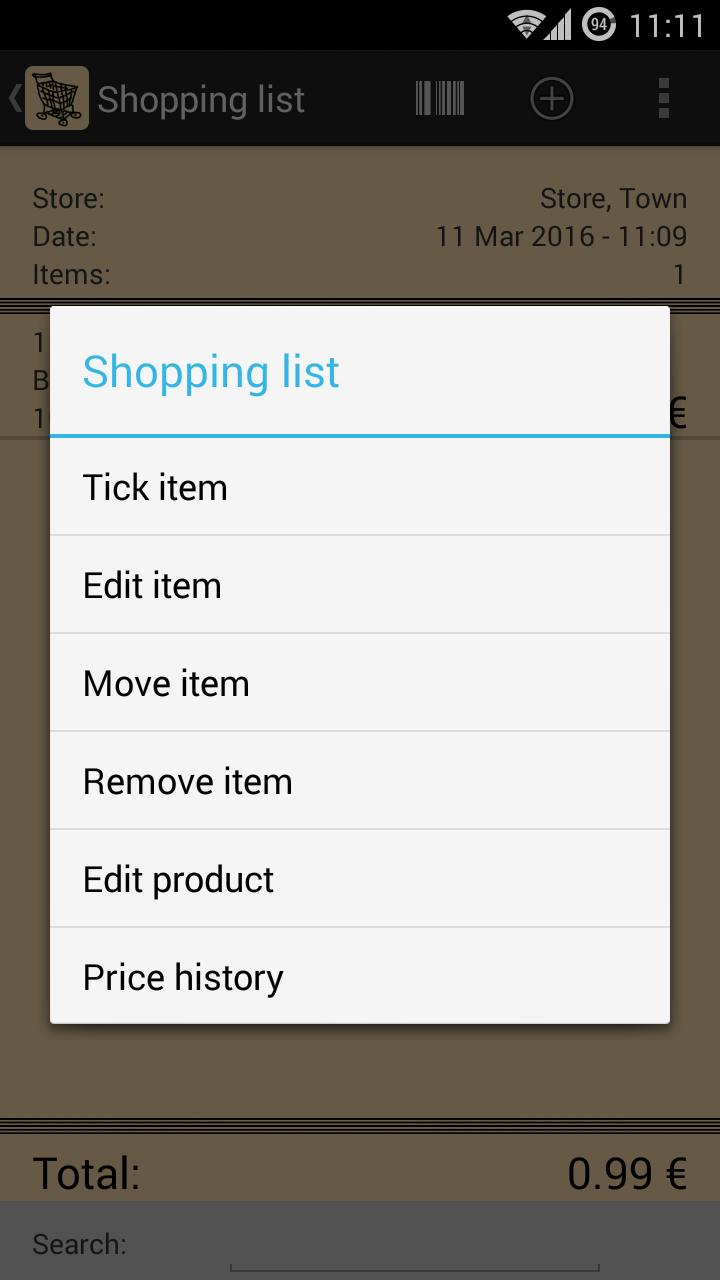
Shopping list:
Press on the product to open the context menu with the following options:
Tick item: The item will be moved to the bottom of the list and the background colour changes.
Is the item already ticked the menu option will be "Undo tick item".
Edit item: Opens "Add item" and the data can be adjusted.
Move item: Item can be moved to another shopping list.
Remove item: Item will be removed from shopping list.
Edit product: Opens "Input product" and the data can be adjusted.
Price history: View the previously saved prices from "history" for this product, sorted by date.
Quickstart
Shopping lists
History
Data management
Statistics
Settings
Icons